Junior Lab
Masonry
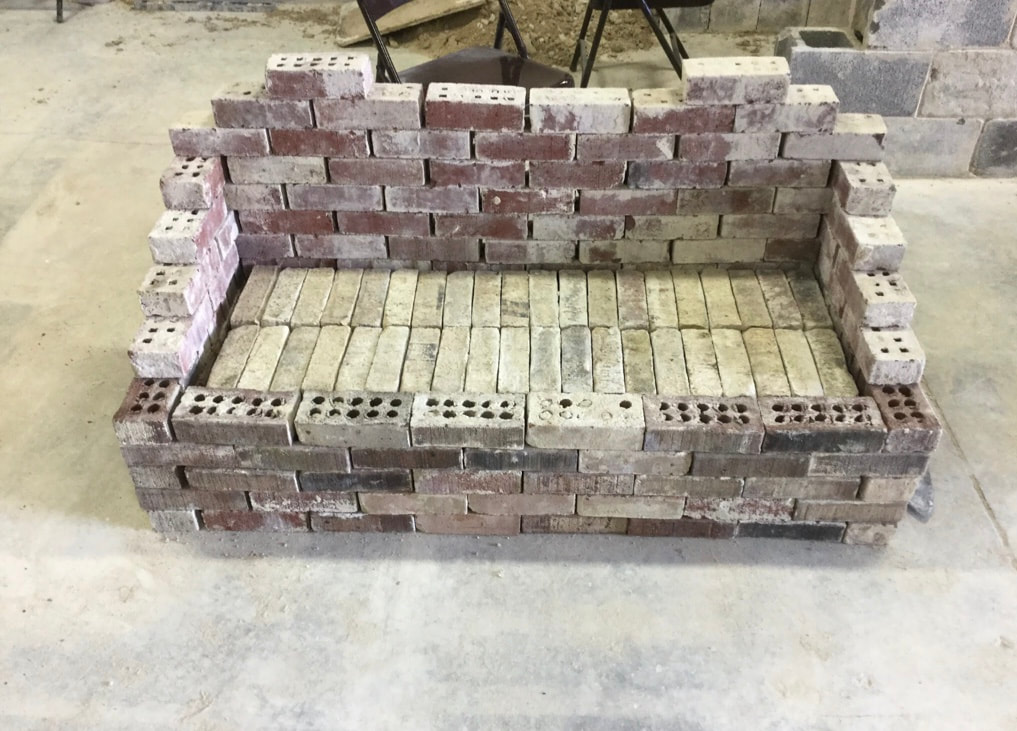
This is how I began my first masonry project in lab. I collected about ninety bricks and tried to arrange them in a way that looked like a fireplace. Needless to say, my first prototype looked more like a bench than a fireplace.
|
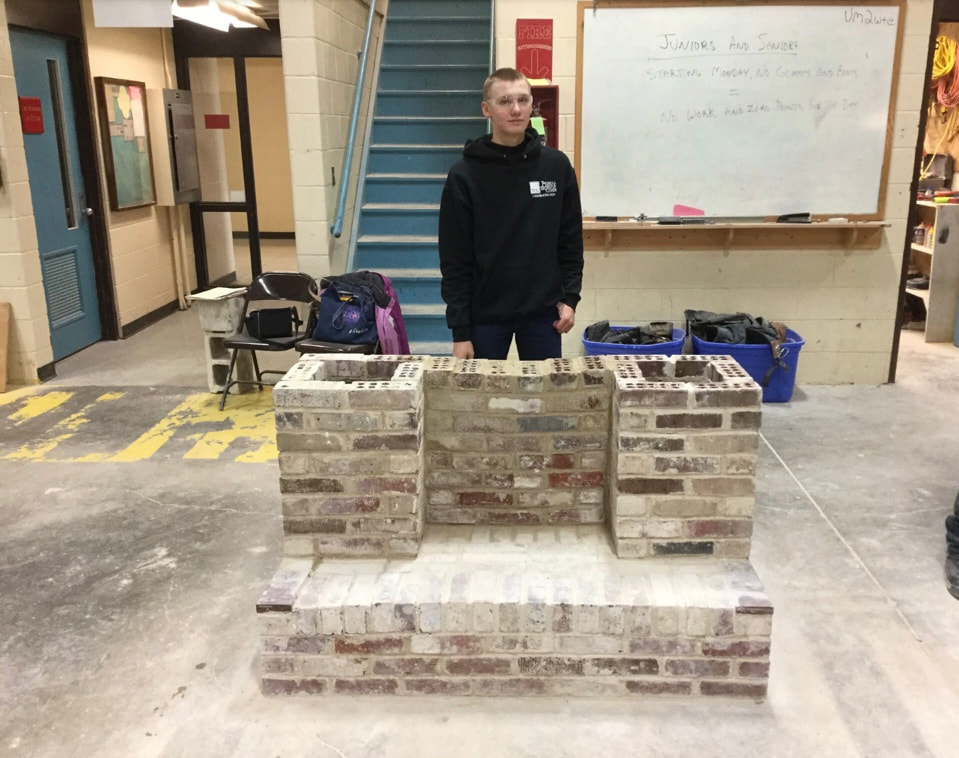
After the prep work was finished I finally began working on the final product and design. After spending a lot of time and energy getting to this point, it felt great to finally be finishing the fireplace. Once I began working and feeling more comfortable with the mortar, the fireplace began to take its rightful shape. I was not completely satisfied with how it turned out in the end, but it could have looked a lot worse.
|
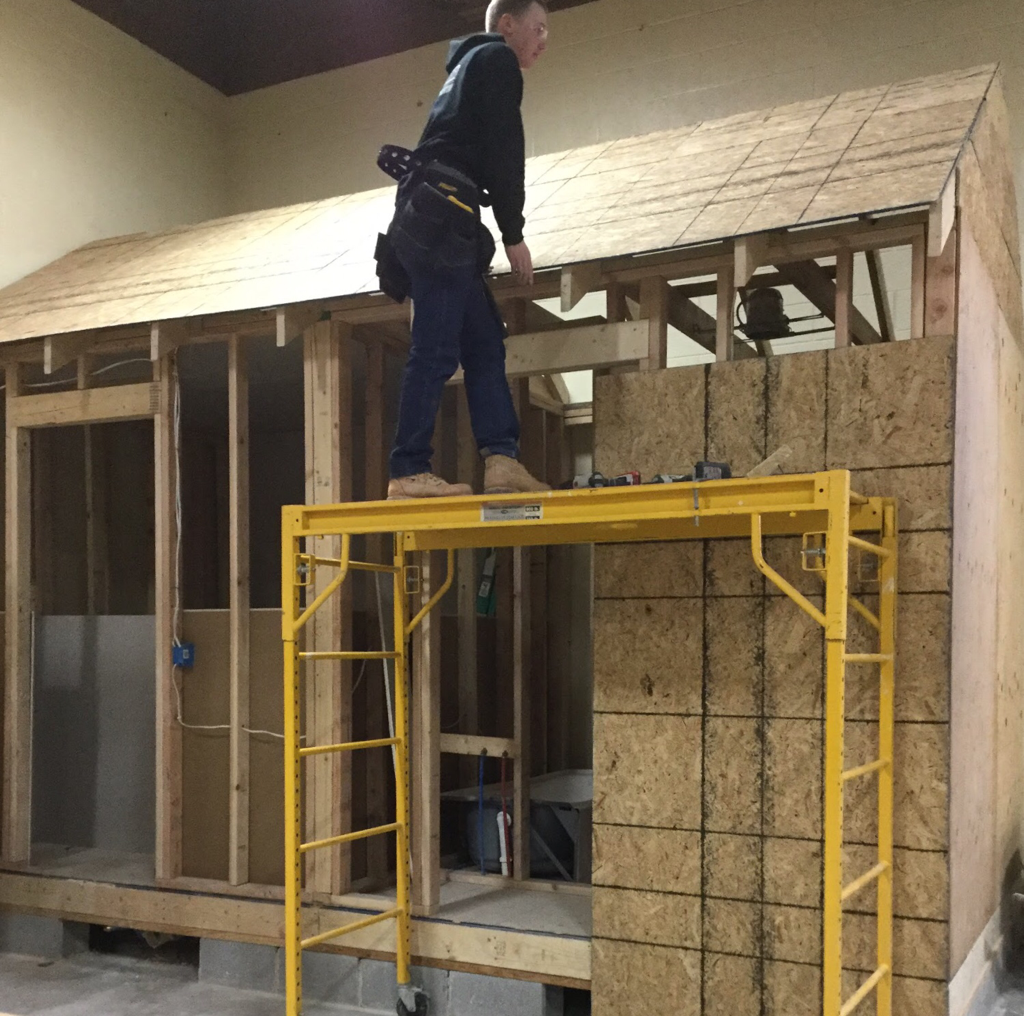
Rough Framing and Roofing
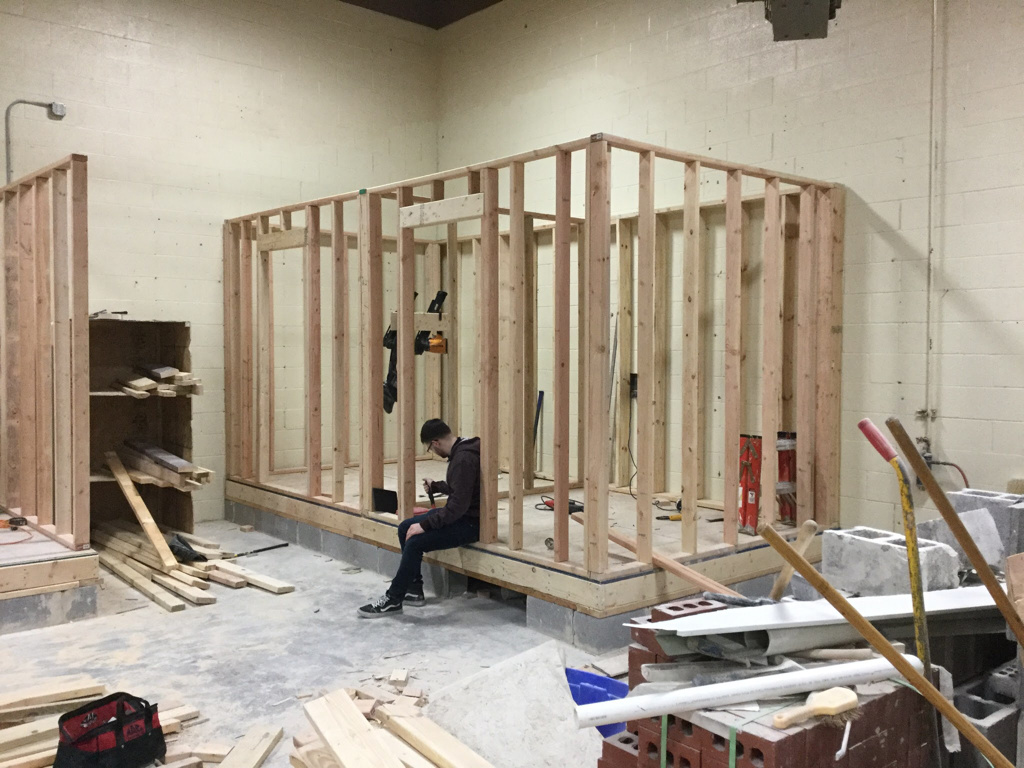
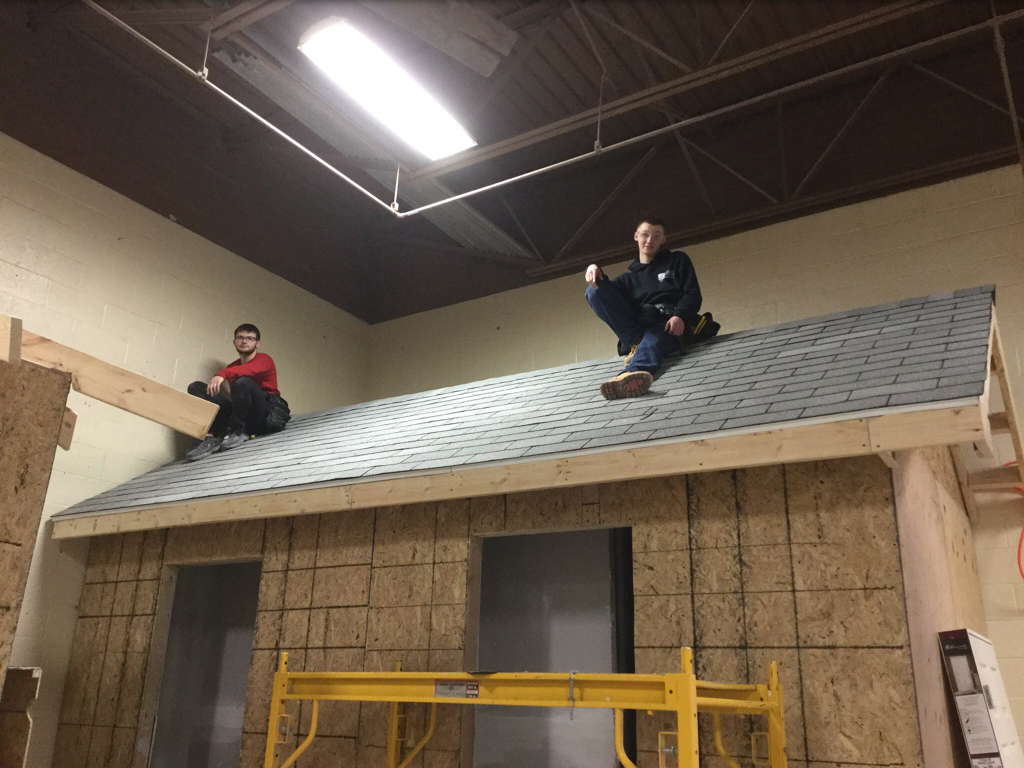
Framing a building was the next thing on the agenda. This was a welcome change because I was tired of tasting lime and sand all day. The goal that a partner and I were tasked with was to build a two bathroom structure from the ground up. We began this project by measuring and laying out a foundation of block. Then we put the joists and end joists together and placed them on the foundation. After this was completed, we took some oriented strand board (OSB) sub floor and screwed it down to make a floor. We then moved on to making the walls of the structure. Making walls were similar to making floors so this process went a bit quicker. We took a few common studs and nailed them to the top plate and the bottom plate. The process of making walls with rough openings was similar to regular walls except for the fact that you have cripple studs and a header. After these walls were build and put up we put a double top plate on to tie the walls together. The next task was cutting the rafters for the roof. After the rafters were set in place we nailed OSB onto them. We finished off the roof by putting fascia on the rafter tails and the shingles on the roof.
|
|
Cabinet Making
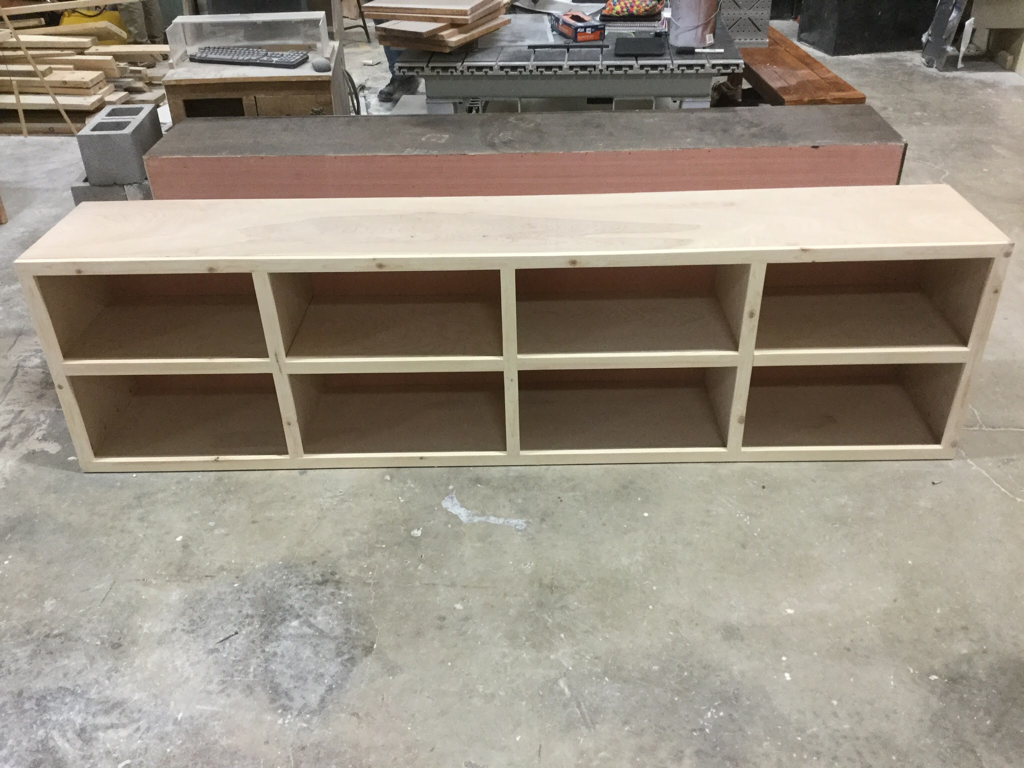
This is a bookshelf that I made by myself from a set of blueprints.
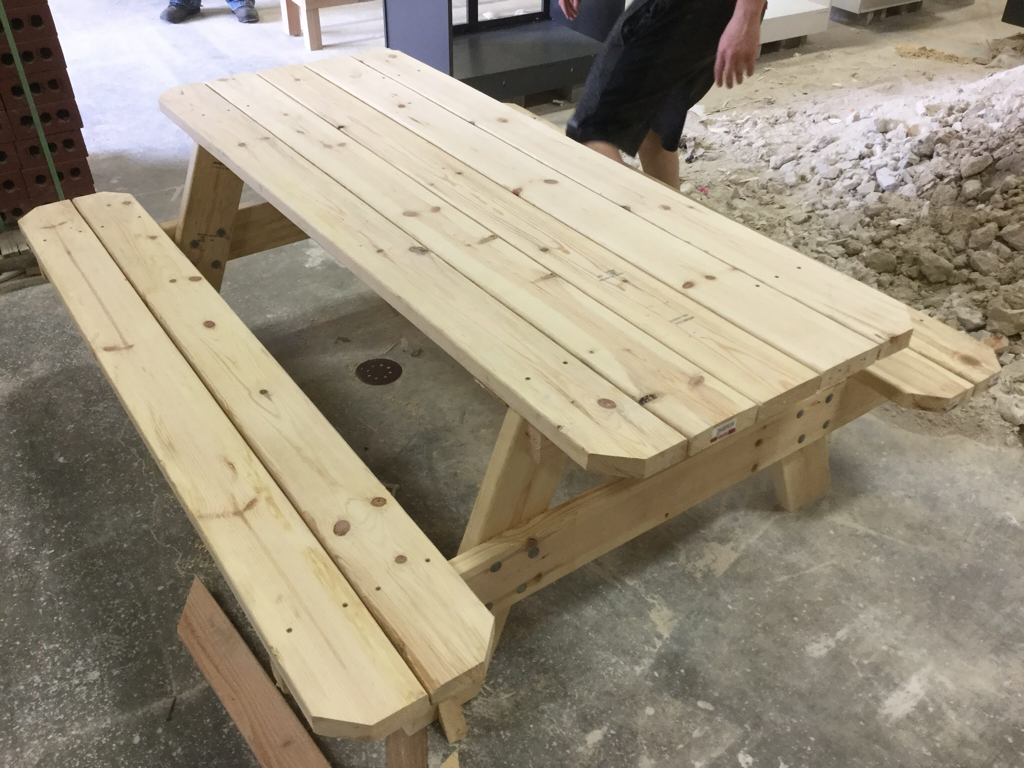
This is a little picnic table that my partner and I made.
|
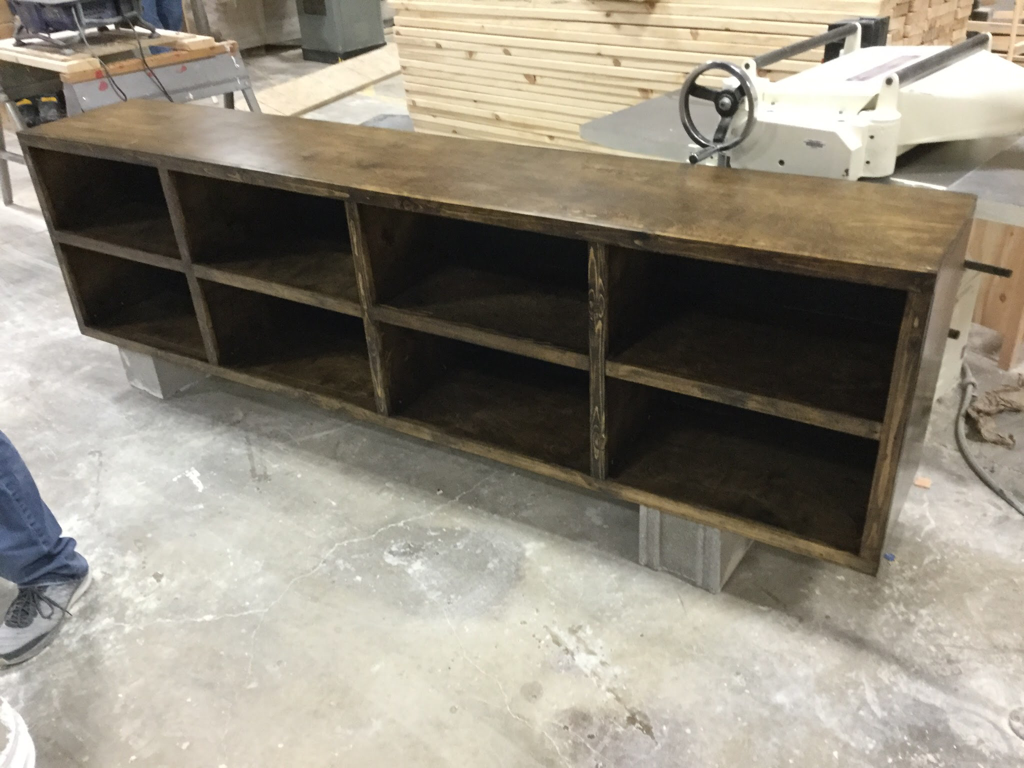
This is the the bookshelf after I got done brushing polyurethane on it and painting the back black.

This is a document holder for Teaching Academy.
|
Senior Lab
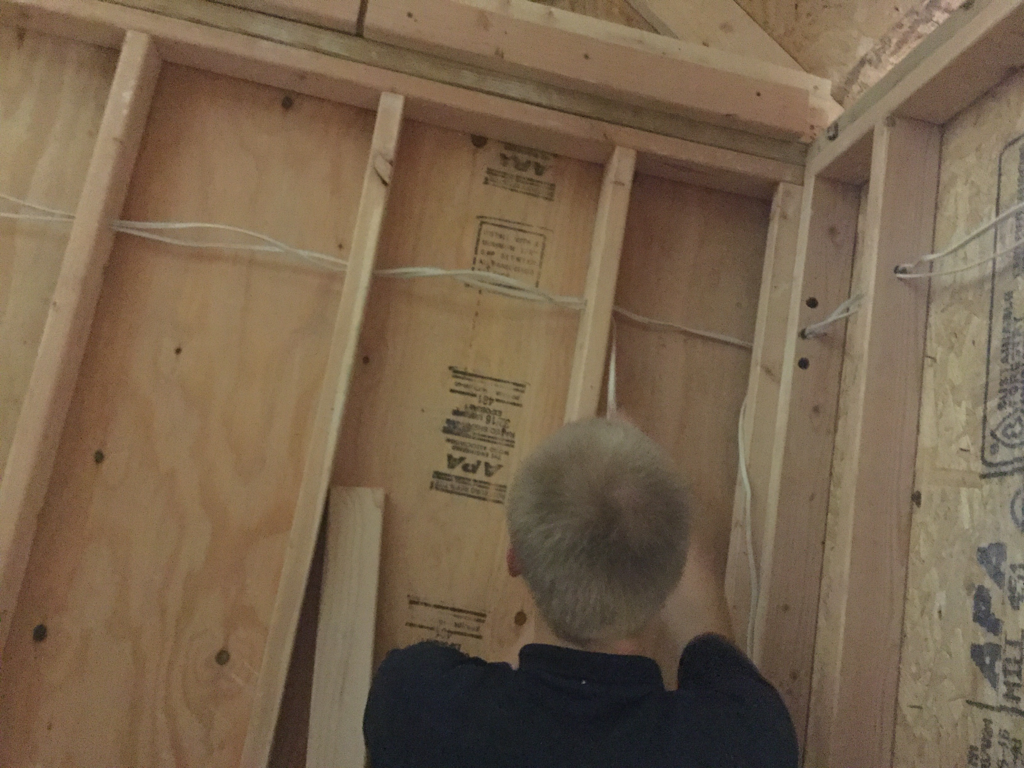
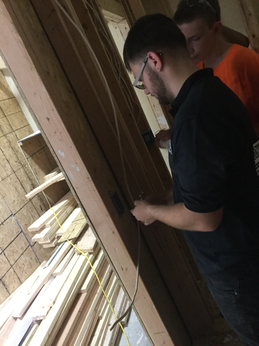
Electrical
|
|
My lab partner and I learned how to properly run electricity through our bathroom. This was nice because we didn't have to work in the dark anymore.
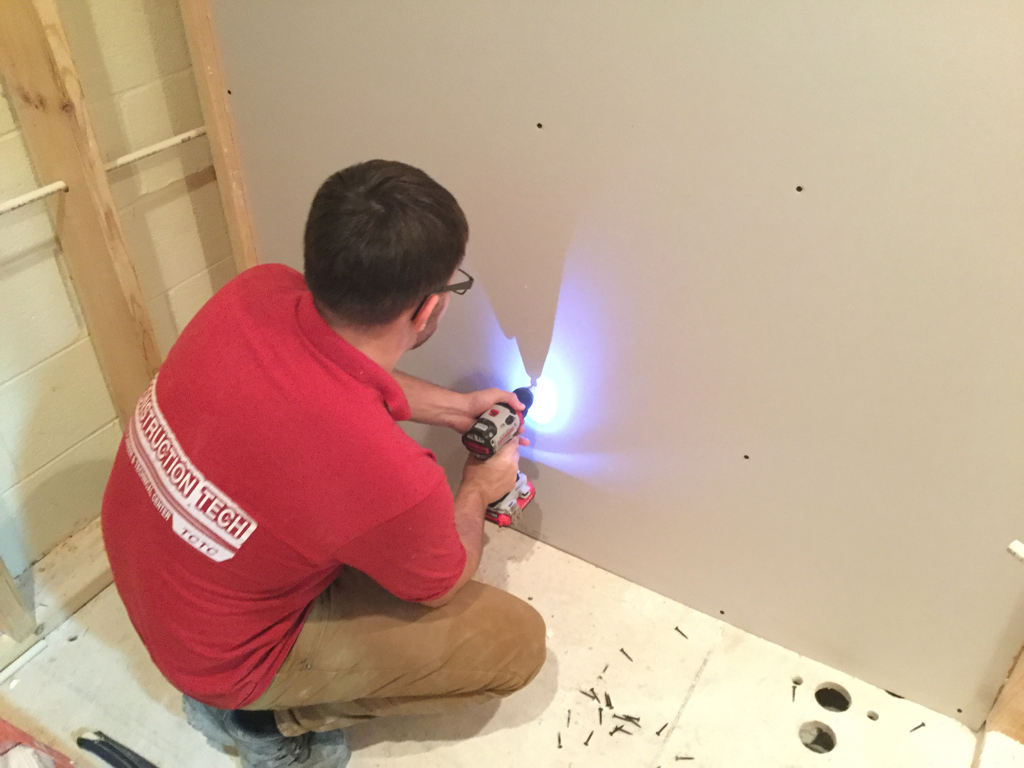
Drywall
|
Drywall work is pretty simple if done correctly. The first step is to cut and hang the drywall. It is a lot more convenient when hanging drywall if there is a second person to hold the drywall in place while it is screwed in. After it's screwed in securely, the second step is to mud and tape it. Mudding and taping is pretty simple once you get the hang of it. Sanding the mud smooth however, is not a pleasant experience at all.
|
